
Ornament face hack: Use paper!

Using hole punches is a less scary way to add the eyes and mouths to your ornament heads if you are nervous about using pens. (If you haven’t seen it, please review my full head tutorial here.)
PAPER PROS: No worries about ink bleeding or shaky hands! There’s a built-in grace period to adjust placement. Do-overs: You can remove and start over if you mess up.
PAPER CONS: You have to have the correct size hole punches, be comfortable working with really tiny pieces of paper, and the shapes are more limited than what you can achieve with pens/pencils.
THINGS YOU NEED:

- 20 mm (3/4 inch) unfinished wood bead for your ornament head
- Scraps of black and red 20 lb paper (Don’t be like Larissa who used construction paper because it was handy. Splurge) Do not use thick paper or card stock. Thin is better.
- Hole punches in the following sizes: 1/16 inch and 1/8 inch (Optional: 1/4 inch for crescents)
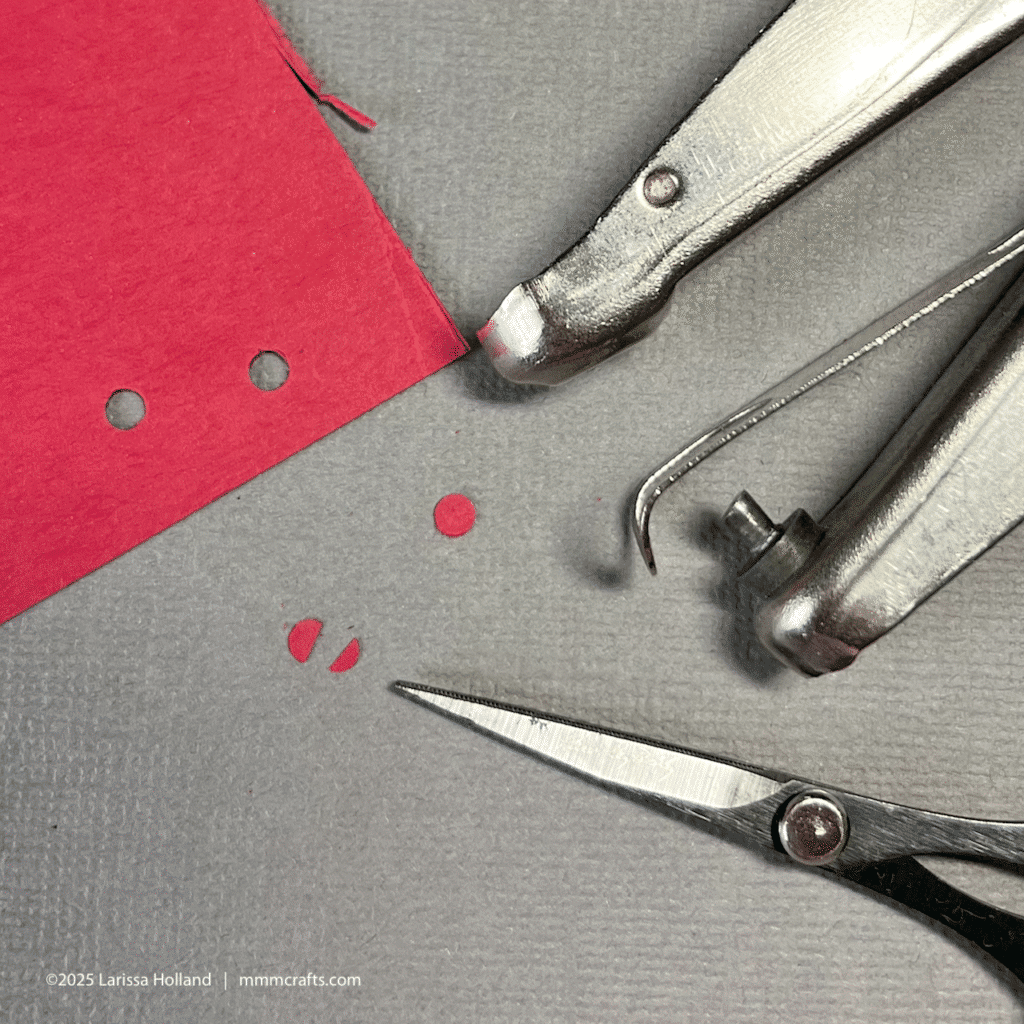
- Small, sharp scissors
- Toothpick
- Tacky Glue
- Straight pin
- Pink colored pencil for cheeks (and also a 2nd color for eyebrows) if needed
- Chenille stem to hold the bead steady
HERE WE GO:

Use the 1/16 inch hole punch to produce several black paper circles. You might need to open the little reservoir and tap them out of the punch. Be sure you have at least two nicely round ones to choose from. (I probably would have had cleaner results had I not used construction paper.)

Use a toothpick to add a tiny dot of Tacky Glue on the bead where you want the eye. It takes less than you think. (Eyes should be located on the imaginary bead equator.)

Use a straight pin to pick up one of the tiny black circles. (Going forward, use this same method to pick up all the paper pieces for the face.)

Place the circle on the dot of glue and push it down with the pin. Don’t worry if a tiny halo of glue squishes out from under the paper. It will disappear as it dries. Now is the time to make small adjustments in placement. Use the pin or your thumbnail to push the paper circle a little bit this way or that. If it’s way off, discard it, quickly wipe away the glue, and try again.
(What if the glue is set? Use a wet Q-tip to remove the paper and dissolve the glue. Let the wood bead dry completely before trying again.)

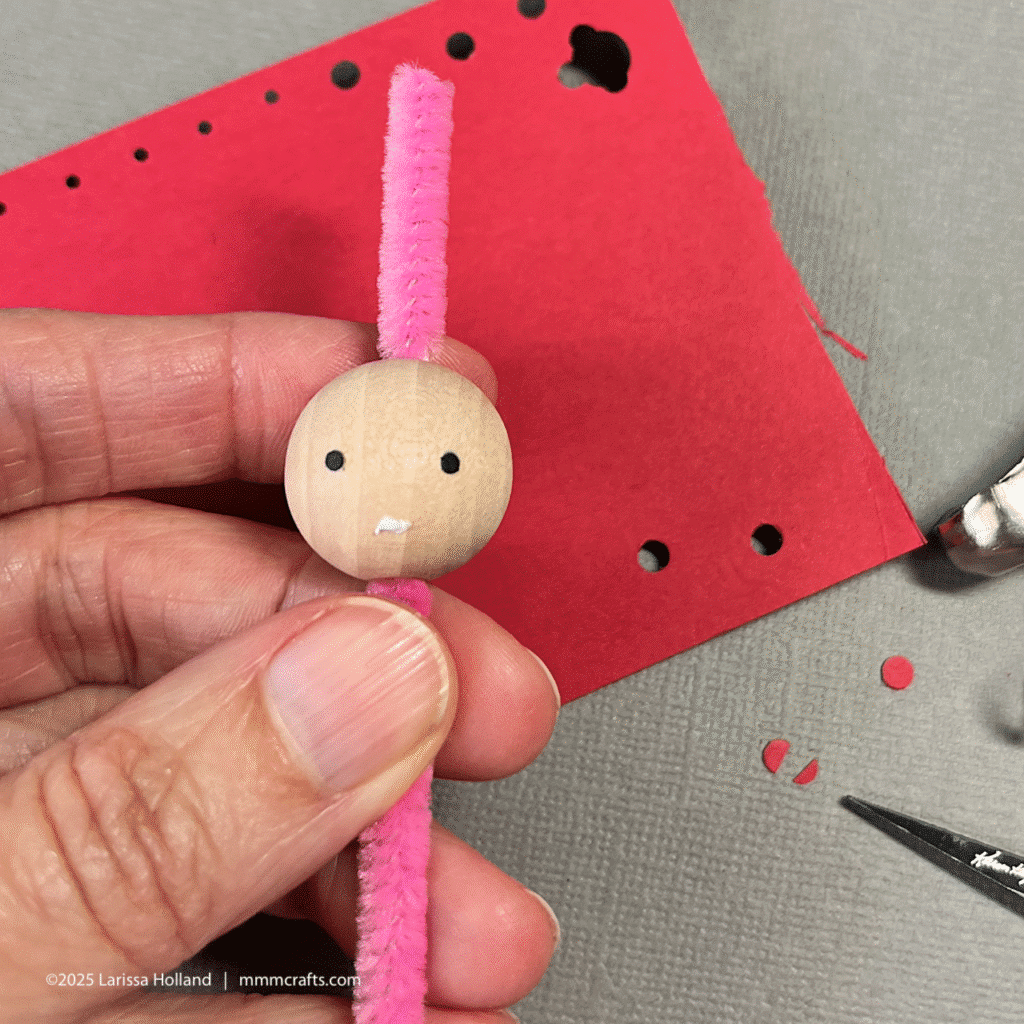
Add the other eye on the equator using the same method. Space it from the other eye about 3/8 inch center to center.
Use the 1/8 inch hole punch to produce a few red circles. Pick one that looks good and use small scissors to cut it unevenly in half, producing one part that’s smaller. That will be the mouth. (If the circle is too small for you to hold while cutting, use tweezers.)
Use the toothpick to add a tiny bit of glue centered underneath the eyes.
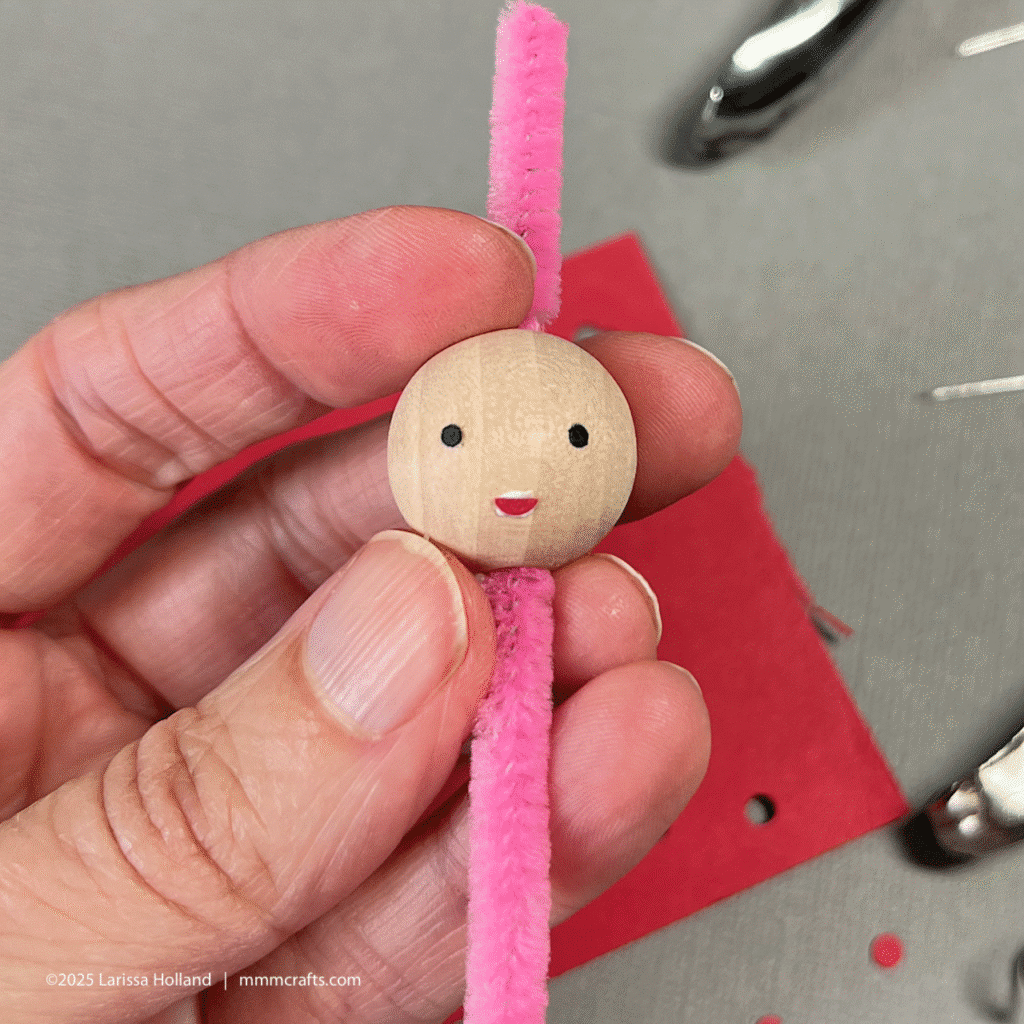
Use the straight pin to add the smaller piece of the red circle, then use the pin or your thumbnail to adjust the placement and angle until it looks good. You can let the glue dry as is or use the tip of the straight pin to take away any excess.
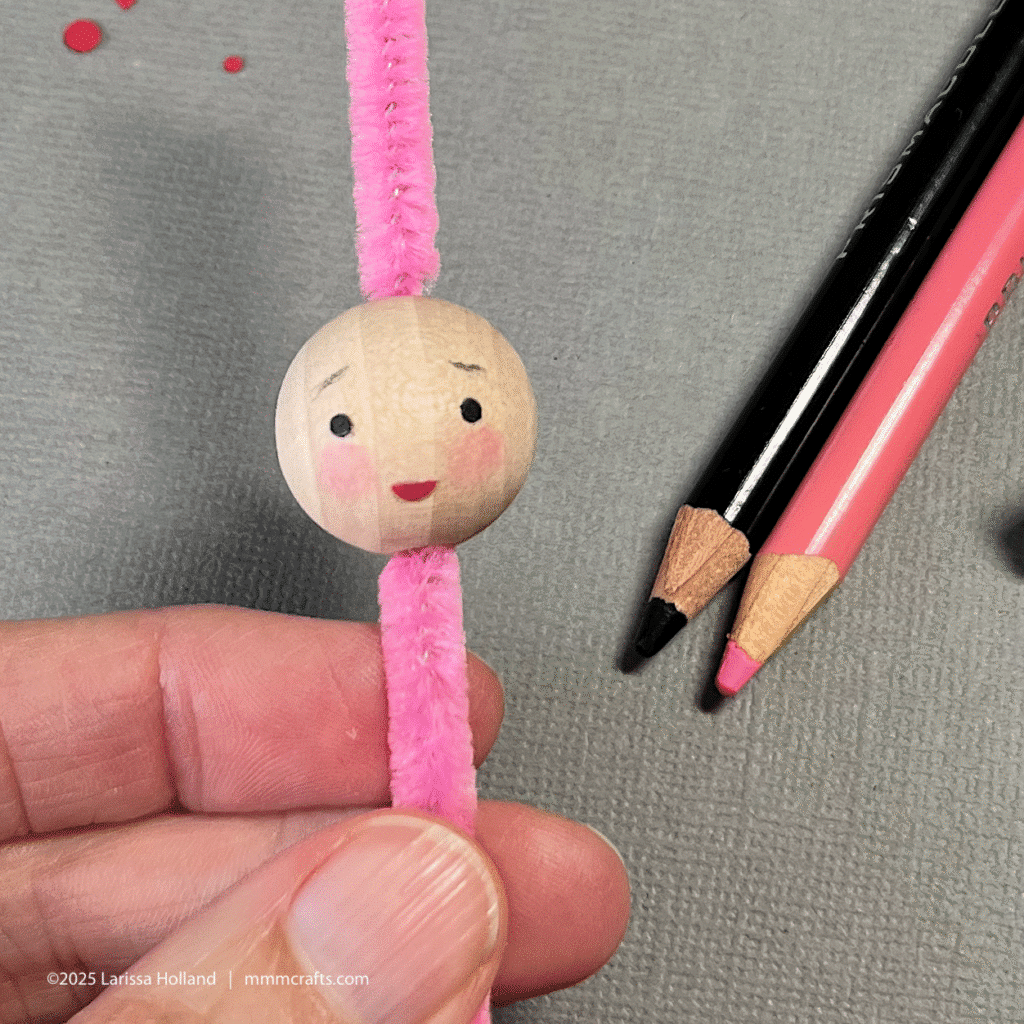
When the glue is dry, follow the instructions in your ornament pattern to finish up your face by using colored pencils to add other features, like rosy cheeks or eyebrows, etc.
GET FANCIER WITH CRESCENTS!

Create paper crescents using 1/4 and 1/8 inch hole punches combined. First, punch a 1/4 inch hole.

Next, align the 1/8 inch hole punch about halfway (but ideally less) over the edge of the 1/4 inch hole you just punched in the paper and punch to produce a tiny paper crescent, like above. Tada! It might take you a few tries to get the hang of it. Generally, the skinnier the crescent, the better.

If you are creating the eyes for Maid a-Milking, Lady Dancing, or Mrs Claus: Punch several skinny black crescents in the same manner until you create two that match. Add them to the head using the glue/straight pin method shown above, paying special attention to adjust them so they look symmetrical. For a smiling or frowning mouth, punch a single red crescent. And, of course, for Santa Claus‘s face you would combine one skinny crescent and one circle punch because he’s winking.
I hope that is helpful! It’s always nice to have several options for creating the faces, and hopefully this is one that you can feel confident and happy with.


Hola.Esta genial las caritas.Pirque al pinta las a veces quedan desiguales.Gracias.
Yes, this method is definitely more forgiving!
If you have sticker paper or washi tape, you could use the same technique without the glue. Or you could use hole punched paper as a stencil for pencil, ink, etc.
I’m no expert but I am skeptical the adhesive on the washi tape would be long lasting? Stencils have their own drawbacks, the major one being bleeding under the edges and secondary but significant is the difficulty in seeing exact placement.
What a beautiful thing your loving thoughts are! Thanks for sharing.
Now, about the hole punch faces;:
What a fun way to experiment with hole punches! I”m delighted to use my 1/16, 1/8 and 1/4 punches that have been sitting in the back of my desk drawer! Now I just have to find 20 weight paper.
Fantastic! Let me know what you think.