Baby Molly’s Floral Felt Banner

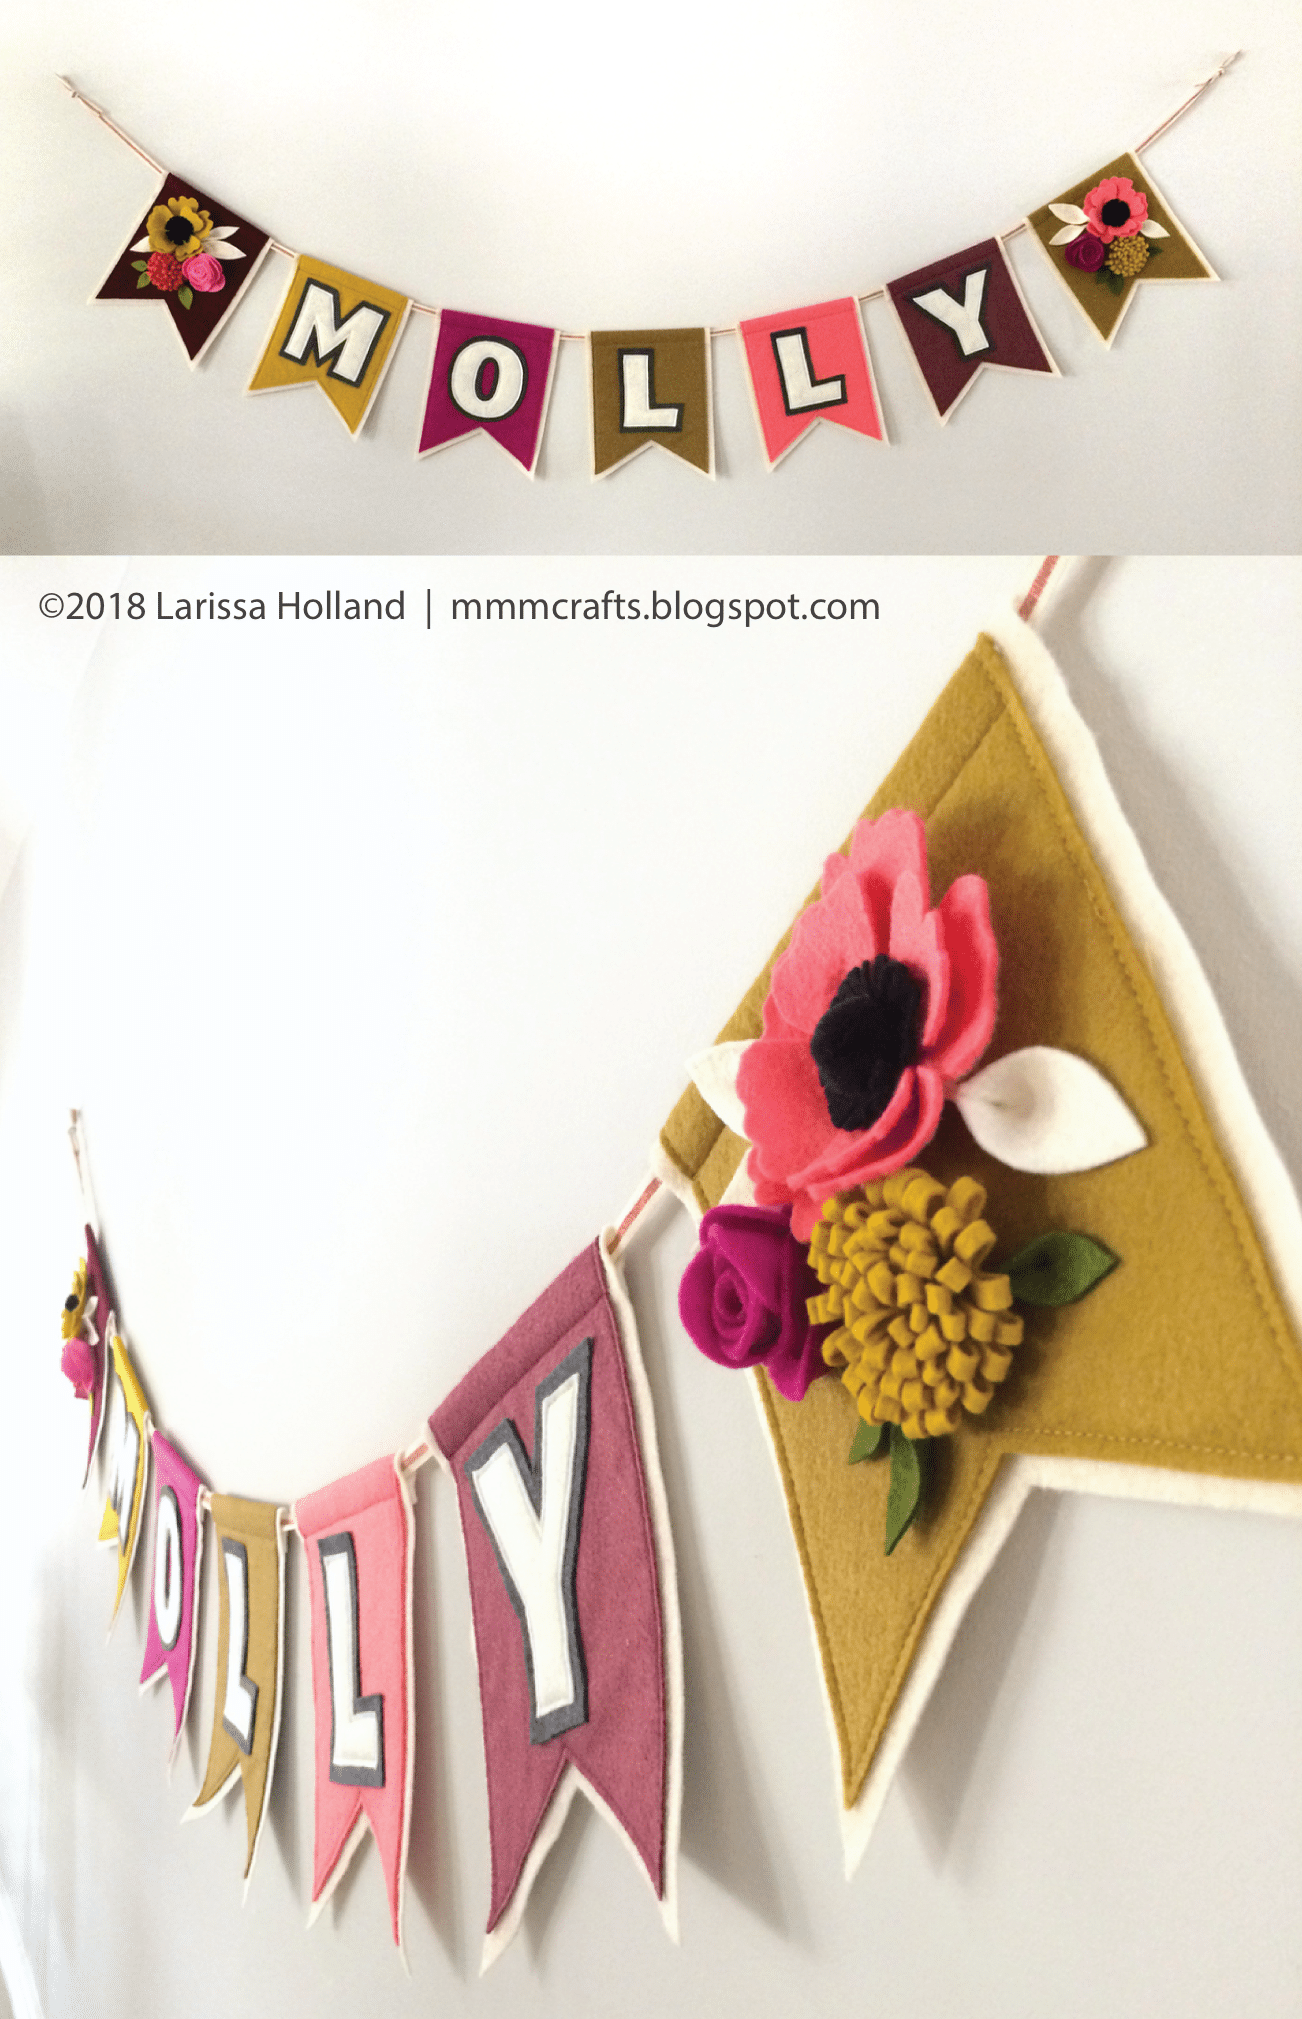
My dear friends Marc and Amanda adopted a beautiful newborn girl recently. I helped throw a shower for them and this banner was a present from me. A few years ago I made a paper name banner for their older son, Micah, so when they requested a name banner for new little Molly I decided to do felt for a change.
I think name banners are satisfyingly easy and fun to sew, especially if you are like me and have illustration software and can print directly to Sulky Stick n Stitch*. Skidoosh! Not only do name banners make easy handmade, personalized gifts, (#forthewin, #oohahhfactor) they also double as pretty shower decorations.
*Why/how did I used the Stick n Stitch and not freezer paper? I used it just as a quick, no tracing way to adhere the printed pattern to the felt, cut it out, and then I peeled it away. I did this in stages so as not to waste the stabilizer. I adhered the composite printed pattern to the cream. Cut. Peeled it off, adhered the same piece to the colored felt. Cut. Peeled it off. Adhered what was left to the letter felt. Cut. Peeled it off. It saved a lot of freezer paper tracing. I didn’t feel bad about using it that way because it was from my stash of ‘bad’ stabilizer — the batch of stabilizer that doesn’t wash away. There’s no other way to use it. Not to mention I was kind of in a hurry. But to be honest, I’d do it again, bad batch or no. It was a huge time saver.
Sizewise, Molly’s banner is fairly large, with each flag being about 7 x 9 inches and total length about 76 inches from ribbon end to ribbon end:
Here it is where I hung it for the shower – over my couch. I also recommend waiting until the night before the shower to sew yours, just to add that extra bit of excitement and danger! (#2am #woolfeltavalanche #sleepisforquitters)
Designing it was pretty fun (I did not do that on the night before, at least). I looked around on the internet for some images and decided I liked this notched shape for the flags. Then I tested out a few fonts ’til I landed on one that had presence and was not too complicated to cut and sew. The felt colors I chose coordinate with Molly’s nursery decor.
It seemed wasteful to use wool felt for the cream colored background that’s only seen at the edges, so I bought sheets of acrylic craft felt from the store for that, and then the rest of the banner (including the letters) is wool felt. Bad decision in hindsight. After struggling mightily with the cheap cream stuff I remembered why I despise acrylic felt. It’s too lightweight. It bunched, stretched, frayed, stuck too much to the stabilizer, didn’t stick enough to the glue, walked away under the machine foot and was a general pain to work with. Next time I make one of these I’ll try the stiffened felt for the backgrounds or just give up and use wool.
I did not initially plan to have the charcoal outline around the letters. I added that later because it needed a little oomph, and also to tie in the black centers of the anemone flowers. OK, the flowers!
If you look around on Pinterest you will realize there are one million felt flower tutorials out there. I tried a few of them for a rose, anemone and whatever that loopy poof thing is supposed to be. Chrysanthemum? After figuring out the best sizes by trial and error, I customized some templates for myself on the computer. I found the key to nice looking flower petals and leaves is not to leave them as flat pieces. You have to add curve by snipping and overlapping the ends. Hot glue was used to put the flowers together. I have a love/hate relationship with hot glue. Love the immediacy. Hate the inevitable burns caused by my apparent lack of common sense (the basic disconnect of brain cautioning hey, that’s hot, you probably shouldn’t pinch it with your fing– as fingers make contact with sticky lava. Again.)
Now that I have all the kinks worked out, templates made, and know what I’m doing, bring on the baby showers and birthday parties! I’d love to try the letters or flags in a pretty print fabric also, and maybe another font.


So lovely… as is everything you make! ❤️
So pretty…lucky Molly!!
Lovely! A friend of mine uses a "cold glue gun," same premise, just not as hot.
Aw, thanks, Grandma G!
Thank you, Sarah! She is a lucky baby — she received two wonderful parents!
I definitely need to look into that, Nicole…but if hot glue cools off that quickly I wonder if cold glue might be even more pressure to place things lightning fast…
Such a lovely idea and you executed it beautifully. The flowers I can see as a small wall hanging.
Oh, thank you! Yes, I see lovely wall hangings with just the flowers. I love the ones done by Haven Charlotte! So gorgeous. https://www.etsy.com/shop/HavenCharlotte?ref=shop_sugg
Alicia left a comment with a great question about how/why I used the Sulky stabilizer for this and I've updated the post itself with that info. ^ For some reason I can't find your comment here but wanted you to know I addressed it! 🙂
Thanks! Don’t know why my comment disappeared.
Chrysanthemum. 🙂 What a wonderful gift. Reminds me of Audrey's crown. <3
Thanks, dear! I guessed right! Yay! I loved making Audrey's crown! Flowers are just fun.
Gorgeous banner! I just bought your ornament patterns and can't wait to try them out as soon as my felt arrives! Have you tried Fabri-tac? I find it to be like a cold version of hot glue, with a little more wiggle room in the setting time. Fair warning – its stringy and messy, but effective at the job! Happy crafting!