Helpful Tips for Nicely Done Ornament Heads – You Can Do This – No Really

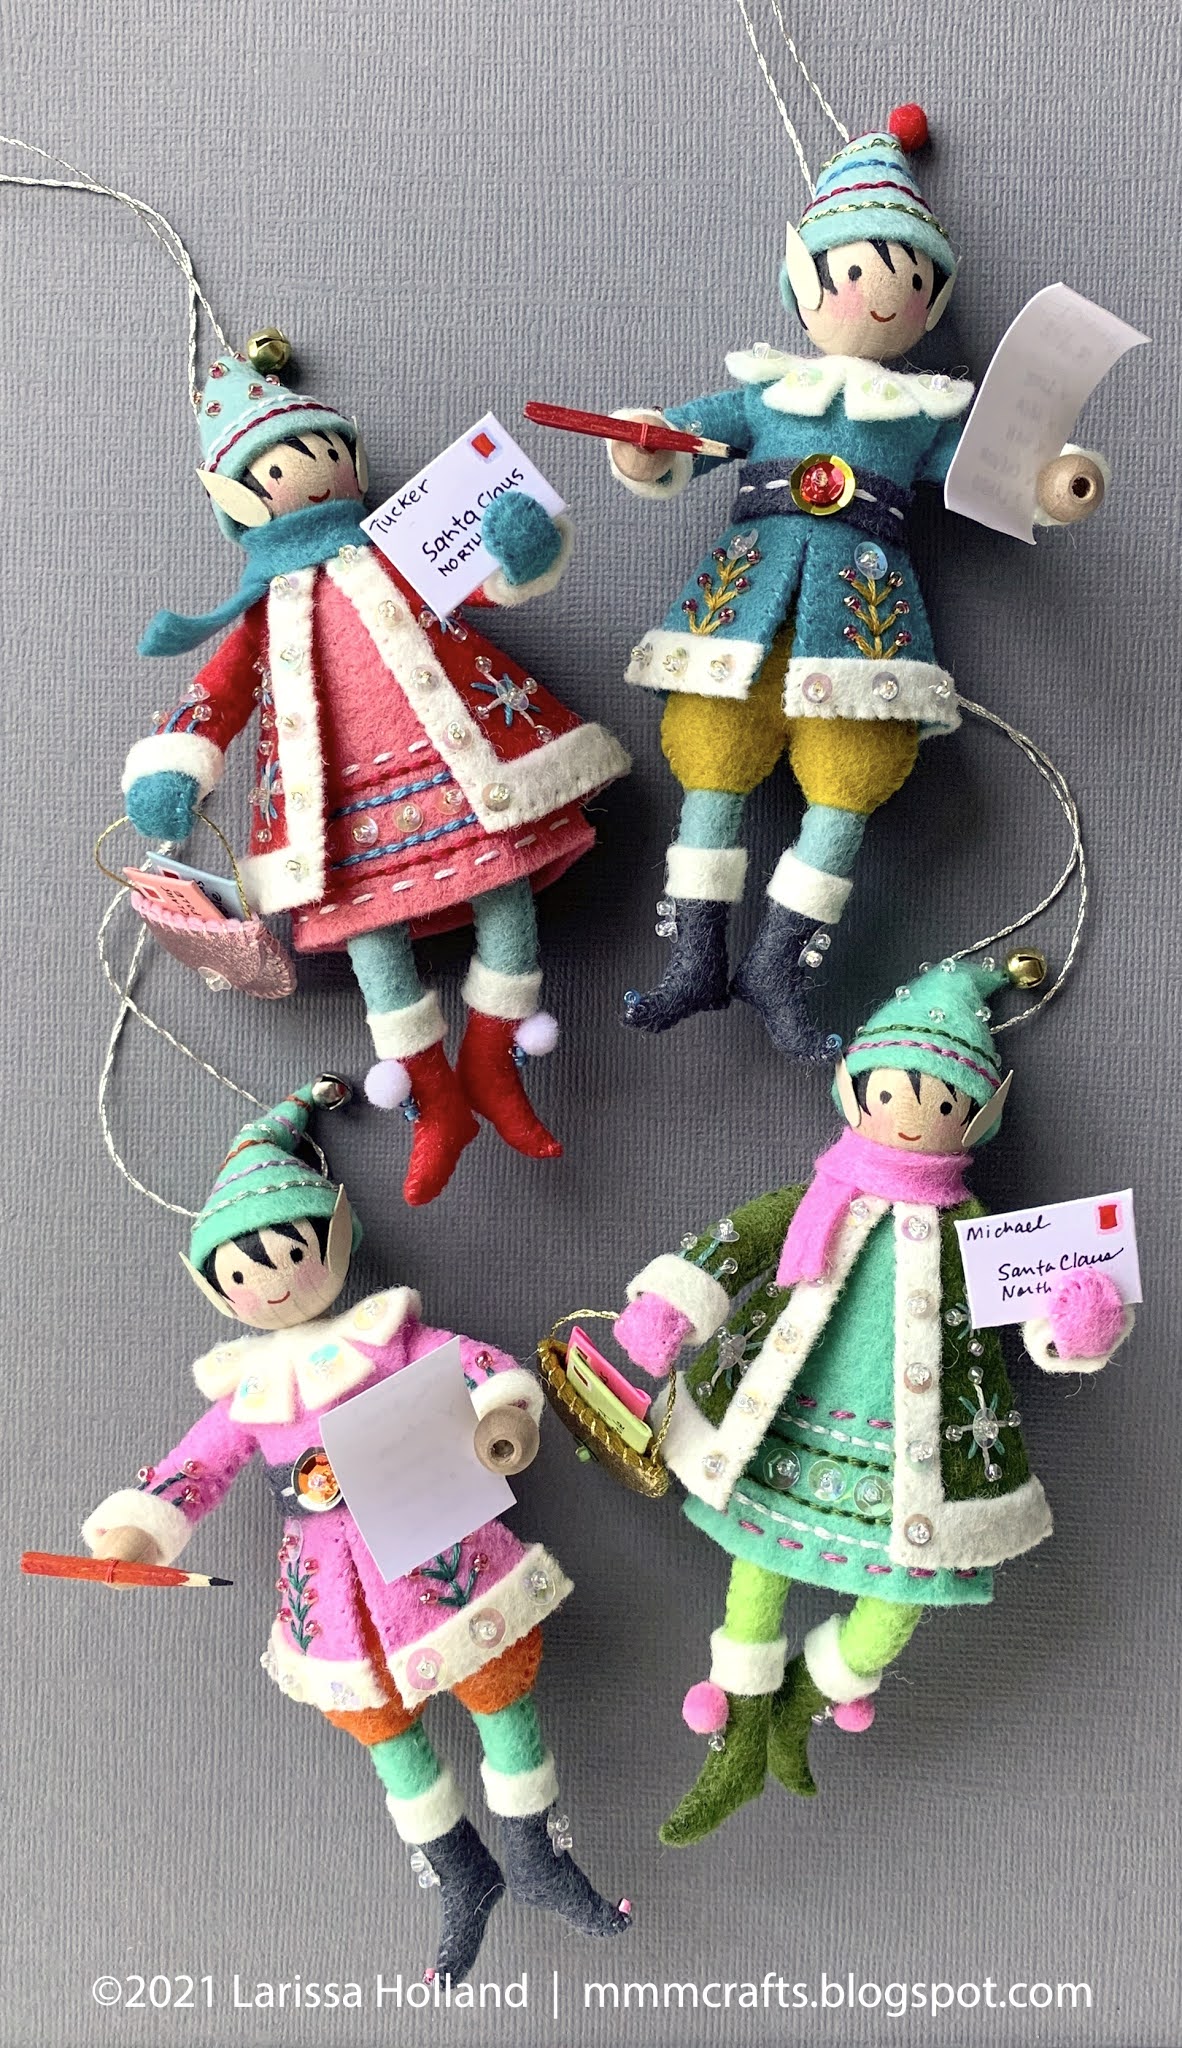
Let’s put our heads together! haha. Are you intimidated by the idea of making the tiny wood bead heads for my heirloom ornaments? This is the post for you. I’m going to break this process down to digestible little bites, and you will realize this is not a big deal at all. No lie. You can do it. *high fives* *down low* (whips hands away) *too slow!*

FIRST: BUY THE RIGHT BEADS
Most of the patterns require 20 mm (3/4 inch) wood beads. It’s important to get the correct size so that the heads look in proportion to the bodies, and the tiny hats, hair, noses, mustaches etc… all end up fitting the way they are designed to.

I find the sizes vary even if the beads are labeled 20 mm or 3/4 inch. You don’t want to stray too far in either direction. To test for yourself, cut a skinny strip of paper and mark 20 mm or .75 inch on it, then feed the strip of paper through the bead hole. The size of the bead should be fairly close to your measurement.

When buying, look for:
- Hardwood beads that have a nice, uniform, woody color and subtle graining
- Consistent size and roundness
- Drilled holes that are around 4 mm
Avoid purchasing beads that:
- Are very light colored, as they seem to be softer/more prone to bleeding, wonkier shaped, and there’s not much contrast if your head will have white hair
- Have holes that are too large or too small (around 4 mm is good)
- Are not consistently round and look tall or squatty

Are you planning to add a different skin tone to your beads? Use watercolor.
Paint the whole bead ahead of time (plus the smaller beads for hands if needed) with a good quality watercolor paint and a large-ish brush. A semi-transparent medium like watercolor will keep the nice matte finish of the wood bead, and the color will have some depth. Confession: I could not find my good watercolor set to make these, so I used an ancient tray of Crayola watercolors from when my girls were small. It took some mixing to get the colors I wanted, but I’m saying it’s possible if that is all you have.
NOTE: Let the bead dry completely before adding the features.
BONUS: I have noticed the watercolor wash partially seals the wood so that it is way less prone to bleeding and it’s easier to add the faces. Cool.
Acrylic Paint: I don’t prefer this for skintones, but you might. Be aware that it will dry with a slight sheen, and the color will be opaque. I do use acrylic paint for hair, like the white haired Mrs. Claus.
SECOND: HAVE THE RIGHT TOOLS

1) Good lighting and reading glasses: OK, some of you youngsters with sharp eyes may not need the glasses, but they are a must for me. I have an OttLite directly over my workspace and a nice big window near my desk. This shot of my desk is at night, so you can see the OttLite still gives plenty of light, even without the window.

2) Pencil: One with a nice, fine point. Mechanical pencils are best.

3) A good eraser: I like white eraser pens rather than the old school pink eraser on the end of the pencil, which can leave marks/smears. These click-up eraser pens get rid of stray pencil marks without leaving residue or smears (be sure the ink is dry first).

4) Fine point pens: My instructions say to use a good quality gel pen OR a fine point permanent fabric marker to draw on the eyes, mouths, and hair outline. It’s tempting to use that Sharpie marker or your kid’s Crayola marker, but don’t do it! Why? Because unfinished wood beads bleed along the wood grain, and permanent fabric markers and gel pens are great at minimizing this unattractive effect. (I’ve heard some folks also get good results from Sakura Micron pens. If you have an extra bead on hand you can test different pens to see what you like best.)
ALTERNATIVES TO PENS: If the pens make you nervous, here are some options:
- Use paper punches for the eyes and mouth instead, if you have them. Here’s a tutorial.
- Use colored pencils instead for the whole face. It’s a softer look, but more forgiving than the pens if you do not have a steady hand.
- Seal the entire bead with Mod Podge before adding the face to prevent bleeding, and then you can use any fine tip permanent markers you like. I don’t prefer Mod Podge because even the matte kind has a sheen when dry, but it’s a surefire way to avoid ink bleeding. IMPORTANT: Do not use gel pens or fabric markers on top of Mod Podge. They might smear. Use a Sharpie, Micron, or similar permanent ink.
- Aerosol hairspray? I have heard from a long-time customer that a nice coating of hairspray on the wood bead prevents ink bleeding. Disclaimer: I have not tried this. LOL
- Opt for a Waldorf look by leaving the faces entirely blank, or with only some rosy cheeks and hair. I’ve seen lovely sets done this way.

5) Other handy items: In some cases, it’s helpful to have a broad tip fabric marker to fill in the hair after you draw the outline. It’s just quicker than coloring with the fine tip. For white or light hair, use an opaque paint pen or acrylic paint and small brush.

6) Good quality colored pencils and a Q-Tip: Essential to add details like rosy cheeks, red noses, and ghostly hollowed cheeks. Use the Q-Tip to blend the edges. I remember I had a rolled paper blending pencil shaped thingy a hundred years ago from my college drawing classes that would probably work great for the cheek blending instead of using a Q-Tip, but I can’t find it in my stuff. (Yes, I still have my art supplies from college, don’t you?) But Q-Tips do the job and everyone has ’em.

7) Tacky Glue and a toothpick: On some heads you need to glue on tiny noses, ears or mustaches. Tacky Glue does the job nicely because you need to use so little to make a bond. The toothpick comes in handy to dot teeny tiny amounts of glue just where you need it.

8) Folded chenille stem or pipe cleaner: Use these to hold the bead more easily while you work with it, and when you’re finished you can just prop the stem in a thread spool or handy cup to let the head dry.

9) Extra beads: You may need a few extra beads if something goes awry. What you don’t need is the added pressure of nailing this in one try. (Shall I show you my impressive reject pile of heads?) If you don’t like your first face, most times you can attempt another face on the opposite side of the bead, provided the first face will be covered by hair or a hat.

10) And finally, CONFIDENCE. Have a close look at some of my photos, like the above. You’ll notice my faces are, in fact, not perfect. Like all of us, they are a bit flawed, but hopefully still charming. In short, you got this. Just tackle this part of the project in the same way you do the embroidery and sewing portions – it’s no different. Simply follow the step-by-step instructions and you can have a winsome little face you are delighted with. Really.
THIRD: LET’S MAKE A SAMPLE HEAD
I’m going to show you how to do a basic face, but follow the specific instructions included in my patterns. There are variations with each one.

1) Look at your bead. Is there a larger hole on one end? That’s the neck. (If the holes are the same size, no worries, use either.) Skewer the bead on a folded chenille stem. Like my fuzzy green one? It’s been around. Turn the bead so the stripey end grain will be the face. (This side tends to bleed less.)
Just an aside here: I noticed the wood beads I’ve bought lately have holes that are smaller (less than 4 mm). If your bead holes are small, remember to cut the felt neck more narrow and trim the fuzz shorter on the pipe cleaner neckbone before attaching it to the felt. What if you’ve already sewn the neck? If the fit is too snug, my favorite trick is to wrap the neck tightly with matching sewing thread. That reduces the bulk so it will fit inside the bead hole. Remember to twist the head on, as opposed to shoving it down.

2) Find the bead equator and mark it lightly with a pencil. (Folks tend to place the eyes too high, and that will help.) With your pencil, lightly dot two eyes on the equator. As a general rule, my eye dots are about 3/8 inch (9 mm) apart from center to center. Place the mouth about halfway between the eyes and the neck. Err on the small side for the mouth. It’s cuter. The eyes and mouth will visually form a squatty triangle.
Kawaii: For a cuter look, place the mouth higher and closer to the eyes, keeping it just as small or smaller. Conversely, placing the mouth lower will decrease the cute factor.
Not happy with your sketch? Erase and make adjustments before you move on.

4) Now to dot your eyes. haha. Use a permanent fabric marker or gel pen to color two dots for eyes over your pencil marks. The larger the dots, the cuter the look, but don’t go crazy. I keep mine about 2 mm, give or take. Experiment to find the size you like. Remember: you can always make them larger but you can’t make them smaller, so be conservative.

5) Use a permanent fabric marker or gel pen to draw on the mouth over your pencil mark. A fine point is essential here – it’s very easy to make the mouth too large for the scale of the face. Think thin and small. You can always add more if it’s too small. Don’t worry if you don’t completely cover your pencil mark. You’ll erase it later. DON’T erase until you are sure the ink is dry.


6) Your pattern may call for adding rosy cheeks (or ghostly cheeks). Do not add cheeks until your ink is dry. Grab a good quality colored pencil. (No crayons or markers please.) Using a circular motion, lightly color a circle just under each eye and close to the mouth. Smaller circles = more kawaii. Larger circles = more vintage. Use a Q-tip or a folded cotton pipe cleaner in a circular motion to soften the edges of the circle, if you like.


7) Add some hair. Sketch in the outline lightly first with pencil, then follow with a fine point fabric marker or gel pen to outline. Then fill in with either the fine point pen or the broad tip marker or paint pen.
NOTE: The hairstyle can be as simple or fancy as you like. Start simple, and get fancy later when you gain some confidence. The sample hair above^ is more complex. It’s for Little Elves. Below is an example of a simpler/easier hair style for Mrs Claus:

HAIR SECRET: The trick to a nice looking face is drawing the hair fairly close to the eyes, so that the face of the bead looks smallish, cute, and closely surrounded by hair. You don’t want it to look like a tiny face island in the middle of a wood ocean.
Check my pattern directions for how much of the sides and back of the head you are supposed to cover with hair. It could be just a partial since a some of them are wearing hats.

8) When your face/hair are totally completely and utterly dry, you can safely erase any stray pencil marks. Be aware the eraser may also erase your rosy cheeks, so touch those up if needed. Finished! Tada!

SIMPLIFY SIMPLIFY: Still nervous? Simplify the faces. In the photo above, the top Mrs Claus head is more complex and the bottom one is simplified, with just three dots for a face. Both faces are charming! Simple dot faces have a vintage look, which I always love.
SO THAT IS BASICALLY HOW IT’S DONE, lovely mmmakers. You have faced your fears. *wink* After following this tutorial you’ll be ahead of the game. haha. OK sorry, I’m finally out of puns. There are a lot of variations in the faces and hair in my patterns, but each one includes detailed step-by-step instructions. Use the tips you learned here to help you along.
Happy mmmaking!


and keep practicing! I do three at a time, and pick the one I'm happiest with. Thanks for the tips! xx Liz
This is SO helpful. You must have spent ages putting this tutorial together, I really appreciate this, and I know lots of others will too. Not least because you acknowledge that everybody makes little mistakes! Bless you for your thoughtfulness in giving us this!
This is great ? I do mine in bulk and usually do the hair first. Will do it your way next time & see if that makes it easier. Thank you x
Ooh forgot my name lol sandra wexler
Great tips and tricks!! Thanks so much!
Wonderful tips thank you. In the past I’ve used adhesive vinyl to add features – punching, die cutting or free hand cutting out the tiny shapes and hair, and glueing them on. They’ve lasted well and are still going strong.
This is so great! I love the detail and it's going to make my next faces look so much better! Thank you for taking the time to do it.
Thanks ever so much for the detail in this tutorial. You are so good at explaining the intricate details. I must say I have quite a few "practice" heads with many faces on each one. These up close pictures and your suggestions will go a long way in my continued practice. Thanks so much.
Thanks you so much for this very helpful tutorial! I am so happy with how my Mrs. Claus face turned out.
Thank you for this! My perfectionist self has been worrying about getting the faces right!
Thanks, it seems so simple the way you do it
Just found you thru Pinterest. This is super helpful! Off to look around your site.
Thanks! 🙂
Thank you for the tips on faces!
Thank you so much for this
I use some of my old blush for the cheeks on my faces. I just dab a Q-tip on the blush and then dab on the face.
I use some of my old blush for the cheeks.
Cool idea! 🙂
Great idea to get a soft look! I worried about it rubbing off.
So very kind of you x
Thank you so much! I was going to leave my angel faces plain but now I feel confident enough to put faces on them.
I am trying to follow your directions. I’ve purchased gel markers but find that they smear very easily. I did paint my peg dolls with Golden acrylic matte medium first (letting that dry 24 hrs.) to prevent the markers from bleeding into the wood. Could this be the problem?
Hey Nancy, yes, if you painted the beads then the gel markers will not work well at all. In that case use a permanent marker like a Sharpie. {You’ll see a note about that in this tutorial under 4) Fine point pens}
So helpful thank you.
Great! My pleasure
This post just came up on my Pinterest feed. So glad it did! I have never known how beads are measured and right there, in your second paragraph you told me! Thank you. I play with a variety of crafts and have a variety of stuff, now I know! Thanks!
Hey Deanna! I’m glad you found me! I won’t claim that is the official way to measure beads. It’s just how I do it! 😉
Excellent tutorial thanks so much, am going to try this right now 😊
Fantastic, I hope it helps!
Also happy to find you which was thru Pinterest. I’ve had a terrrible time ordering online with getting the right size beads. I appreciate the thoroughness of the tutorial, especially as a visual person. I’m excited to see what else you’ve shared.
Hey Karen, very glad the tutorial was helpful! So happy you found me.
I use chopsticks to hold my wooden beads. They’re the perfect size for the bead holes.
That’s clever, Terri! I have a wood dowel I sometimes use too.
Wonderful explained.
Thank you I feel confident to do 12 and love 3 or 4, happy with all the rest. I work smaller, but the equator is same.